Hipster Bunny Shirt Tutorial
 Hi friends! Today I’m sharing this Hipster Bunny Shirt Tutorial that is perfect to make your little ones (or yourself!) for Easter! I made this fun shirt for Lola using our Skipper Top PDF Pattern and heat transfer vinyl, and you can download the free file below to make your own!
This shirt will have your little one jumping for joy!
A hip hop, the hippie to the hippie the hip hip a hop…
For this Skipper Top, I used black and white striped ponte knit fabric from Jo-Ann Fabric and Crafts. It is such a beautiful weight, and I originally bought it for a dress for myself, but when I saw how perfect it was with the pink and gold, I thought I’d take one for the team. Plus, it never hurts to have an excuse to go buy more fabric, right?
The heat transfer vinyl is from Expressions Vinyl. It was my second time working with it (you can see the Song Lyric Quilt I made here), and it was really great to use! Once I realized I had placed my vinyl upside down on my cutting mat, that is…
Let’s get to work!
Supplies:
t-shirt pattern – I used my Skipper Top Pattern, my go-to girl’s shirt pattern – you could also use any store-purchased shirt, but then you miss out on the fun of making the skirt ;)
heat transfer vinyl – two colors – I used Expressions Heat Transfer Vinyl for both the pink and metallic gold
iron and press cloth
Download the Silhouette file HERE. If you don’t have a Silhouette and want to use the templates to cut your stencil or vinyl by hand, you can download the JPEG file HERE.
Begin by downloading the file above and cutting out the vinyl pieces with your Silhouette (or with a craft or exacto knife if doing by hand). I used a blade setting of 5, a thickness of 15, and a speed of 5 to get a perfect cut.
Weed out the vinyl areas that won’t be going onto the shirt.
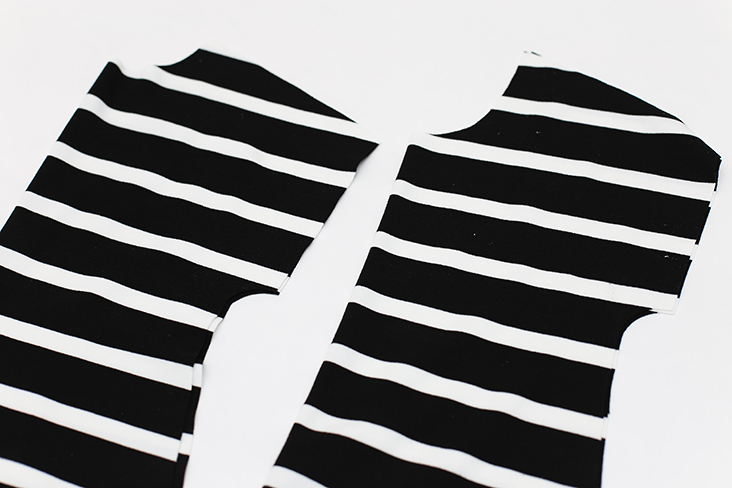
Cut out front and back shirt pattern pieces.
Place the bunny vinyl right side up onto the shirt front as desired. I love that the vinyl can be easily repositioned until you get it perfectly where you want it!
Heat your iron up to a cotton setting and place a press cloth over the vinyl. Adhere the vinyl to the shirt by pressing the iron over the press cloth for about 1 minute (per area if you can’t cover the entire bunny with your iron). Lift a corner of the plastic to check if the vinyl has adhered properly. If not, iron it for another minute and re-check.
Remove the plastic and let the bunny cool.

 Repeat the same process as above with the sunglasses vinyl, placing it over top of the bunny. The metallic gold took a bit longer to adhere than the pink, and I found it worked best to wait until it had cooled to peel the plastic off.
Sew your shirt as instructed in the pattern, and you’re done!


I can’t take how cute that is!
Aw thank you so much Jodi!
I love this! I have also taken one for the team, and given my fabric away to a project for the kids. Just an excuse to get more:)
So adorable. LOVE the gold glasses. I am thinking I need a silloutte!
Thanks Michelle! Darn kids ;). But yes, any excuse is a good excuse, haha!
She is adorable! I love her boots too. :)
Aw thanks Marissa! I’m glad she’ll let me put her in those boots, you never know what your kids will hate, haha!
This is too cute! Love it!
Thanks so much Delia!