Pinafore Tutorial + Suspender Skirt Tutorial

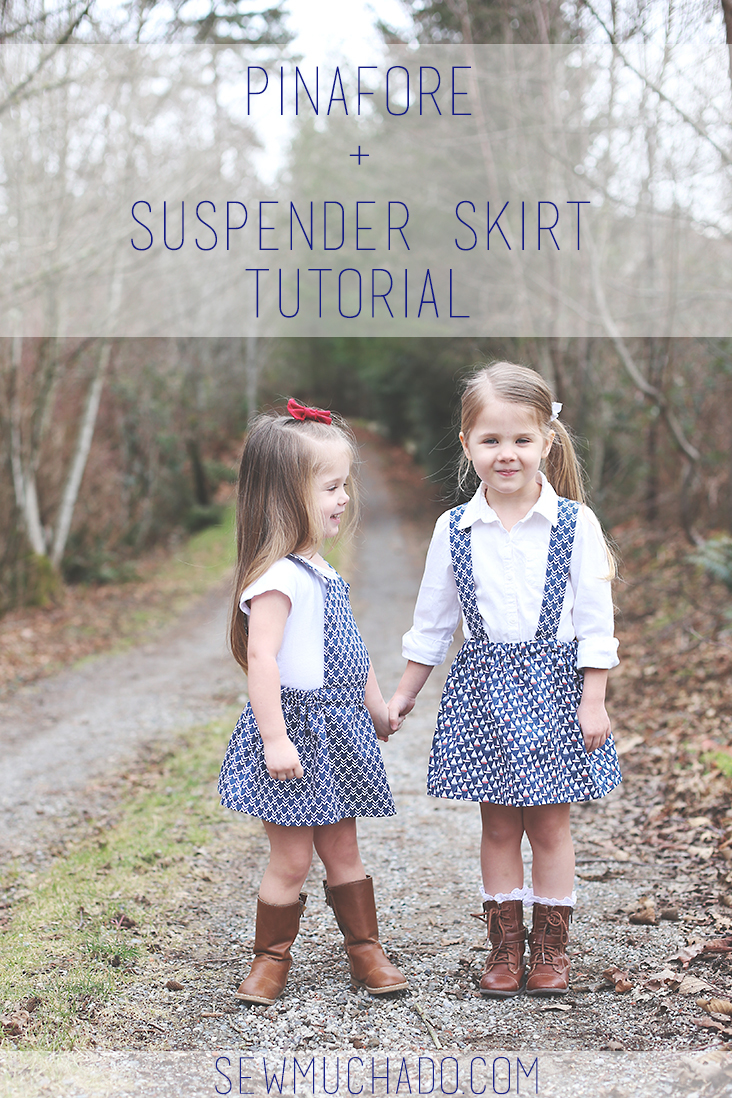
Hi sewing friends! Today I have a fun post for you that includes two different takes on a simple skirt! I am joining in on the Riley Blake Designs By The Sea fabric tour, and sharing a Pinafore Tutorial as well as a Suspender Skirt Tutorial!


I love the navy blue prints in this collection, and couldn’t resist the sailboats and arrows. They are perfect for so many types of projects, and I love that it’s gender neutral. In fact, I originally planned to make something for my boys with it, but once the idea of these skirts popped into my head, I had a new plan ;).


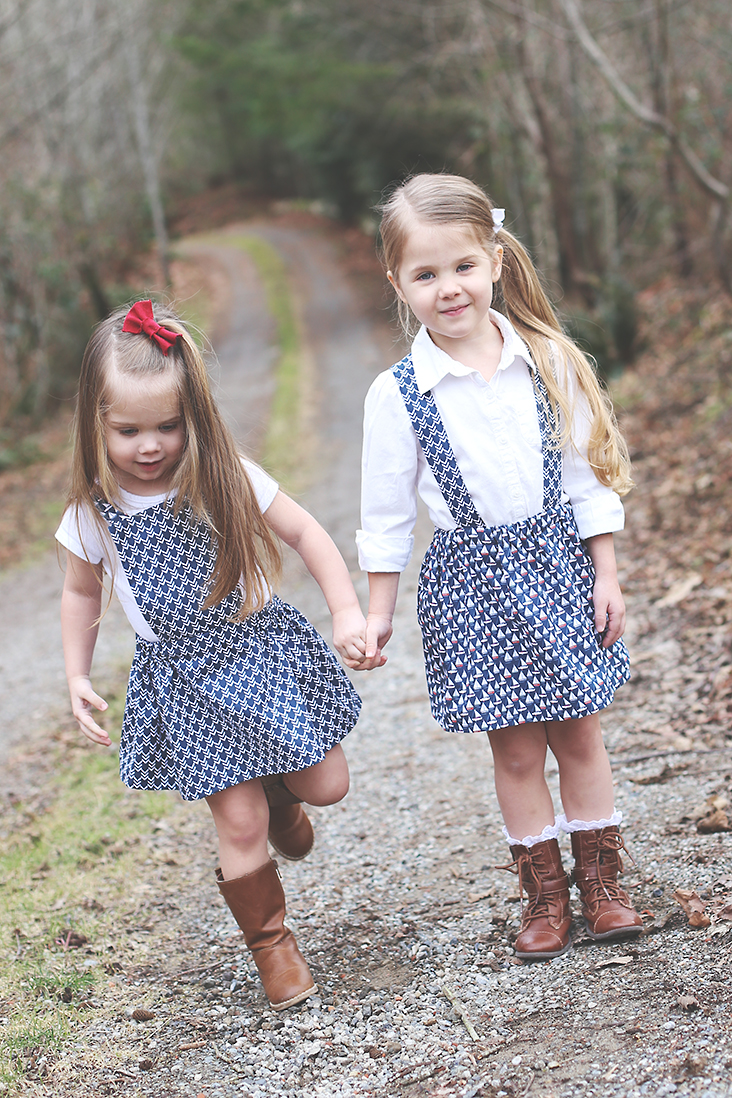
I made a simple gathered skirt for each outfit, and then added a pinafore to Hattie’s and suspender straps to Lola’s for coordinating but not identical looks. They both went perfect with the Gap boots.


Each skirt is super easy to make, and because there are a few differences between the two, I’m sharing the details for each!


Ready to get to work?!

Let’s start with our Pinafore Skirt Tutorial. To make a Pinafore Skirt, you’ll start with our 15 Minute Gathered Skirt Tutorial. Complete each step with the exception of stitching the top casing. Use measuring tape to mark skirt back in thirds (for back strap placement).

Cut two rectangular pieces the desired finished front pinafore size, adding 1/2″ to the width and 1 3/4″ to the length. For Hattie’s size 3 pinafore, I cut each rectangle 7″wide x 9″ tall. Measure model for approximate strap length (from top of pinafore front, over shoulder, to waist at back), and cut two straps 4″ wide by (desired length + 2″). Keep in mind that if using a directional print, print will be upside down on either the front or back of pinafore strap, so either use a non-directional print, cut straps on the cross-grain, or decide which side you’re okay with being upside down ;). After much deliberation, I chose to let the sailboats be upside down on the back, but I am not super happy with it and will definitely choose a non-directional print the next time I make one.

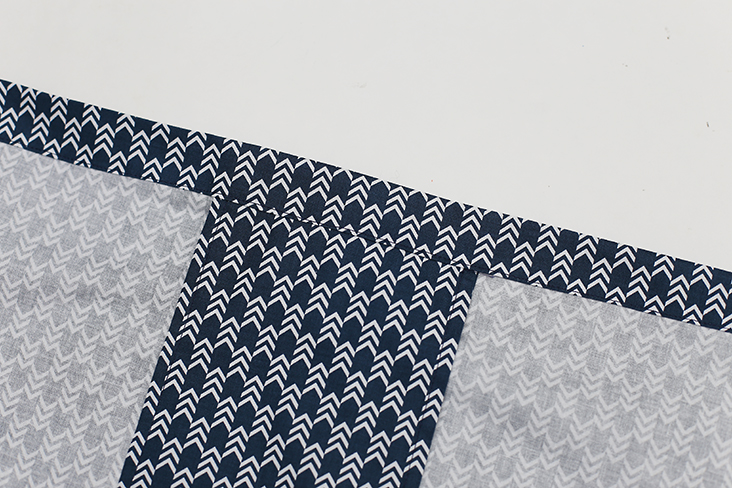
To create straps, press each long strip in half lengthwise, then open fold and press each long raw edge to center crease. (Note: as strap assembly is similar to assembly for Suspender Skirt, some photos are used for both tutorials and fabrics are interchanged).

Open folds and press one short raw edge (edge that will be stitch to back waistline) 1/2″ toward wrong side. Fold back in quarters along creases and topstitch close to edge on the three pressed sides.


Sandwich short raw edges of each strap between front pinafore pieces, matching strap raw edges with raw top edges of front pinafore. Pin in place and stitch around sides and top, 1/4″ from edges.


Clip corners and turn front pinafore right side out. Press flat. If desired, topstitch 1/4″ from side and top edges.

With front pinafore right side up and skirt wrong side out, center front pinafore on skirt top, sliding front pinafore 1/4″ under folded top edge of skirt (where elastic casing will be created). Pin in place and stitch close to folded edge of casing, leaving 1″ for elastic insertion.


Press front pinafore upward and stitch close to top edge of casing to secure. Insert elastic (I love buying these huge rolls, and they save so much $$!) using safety pin and stitch opening closed.

Try pinafore on recipient and pin straps to back of skirt, starting at third markings and then adjusting as desired.
Stitch straps to back of skirt as pinned along top and bottom of casing, being sure to not stitch through elastic.

Ta-Da! How easy was that?! Up next is a simple Suspender Skirt Tutorial.

To make a Suspender Skirt, you’ll once again start with our 15 Minute Gathered Skirt Tutorial to sew the skirt. Before inserting the elastic, use a measuring tape to mark the skirt front and back in thirds with chalk or a disappearing ink pen (for strap placement later). Try the skirt on the recipient and use a measuring tape to determine the desired finished length of the suspenders (be sure to measure with the straps crossing in the back if you’d like them placed that way). Add 3-4″ to that measurement and cut two strips that length by 6″ wide.

To make suspenders, press each long strip in half lengthwise, then open fold and press each long raw edge to center crease.


Open folds and press each short raw edge 1/2″ toward wrong side. Fold back in quarters along creases and topstitch close to edge on all four sides.


Try skirt on recipient again and pin each suspender in place, first pinning at third marks and then adjusting as needed for fit. If crossing suspenders in back, angle each suspender to drape nicely over back. Stitch suspenders to top and bottom of elastic casing, keeping elastic free from stitches. By leaving any excess length of the suspenders on the inside of the skirt, they can easily be removed and adjusted for growth later on. Another option is to attach the suspenders with buttonholes on each strap and buttons on the skirt elastic casing (be sure to stitch the button to one layer of the casing only, avoiding the elastic).

There you have it! You can find the By The Sea Fabric Collection here at Riley Blake Designs, and be sure to check out more of our tutorials and free patterns!


Abby that couldn’t be any cuter! Lots of work into those skirts!
Thank you!
How do you get a flat front on the pinafore skirt? Reading through the tutorial it sounds like the entire skirt would be gathered like the suspenders skirt but it looks flat (unless i missed it).
Thanks!
To get a flat front on this version, I simply adjusted where the gathers sit. But you could also start and stop the elastic on either side of the flat front if you don’t want to have to do that (and stitch the elastic ends in place vertically).
I’m so sorry I just posted this question again as I didn’t see this. Thanks for clarifying!!
Thanks for your response!
I am loving these!! Could I please ask… the front of the pinafore looks flat (not gathered with elastic) do you see each side of the panel unstretched? And then allow the elastic to do its thing from there? Or do you only insert elastic from each side of the panel?
These are great idEaster as usual. Your girls are so cute, and model so well . Thanks for all your good ideas!!!