Tips for Piecing a Quilt with Cricut + Riley Blake
This is a sponsored conversation written by me on behalf of Cricut. The opinions and text are all mine.
Read on to learn my favorite tips for piecing a quilt and learn about the quilt I made using my Cricut Maker and a Riley Blake quilt kit!

Hi sewing friends! I’m back today to share some of my favorite tips for piecing a quilt! Earlier I shared how to get started quilting with Cricut Maker and also how to cut your quilt pieces with the Cricut Maker, and today is the third and final post in that series!


I’ve been dying to share pics of the finished quilt I made using Riley Blake’s Little Dolly Quilt Kit and the Arrows Baby Quilt Pattern, and am so happy that the day has finally come!


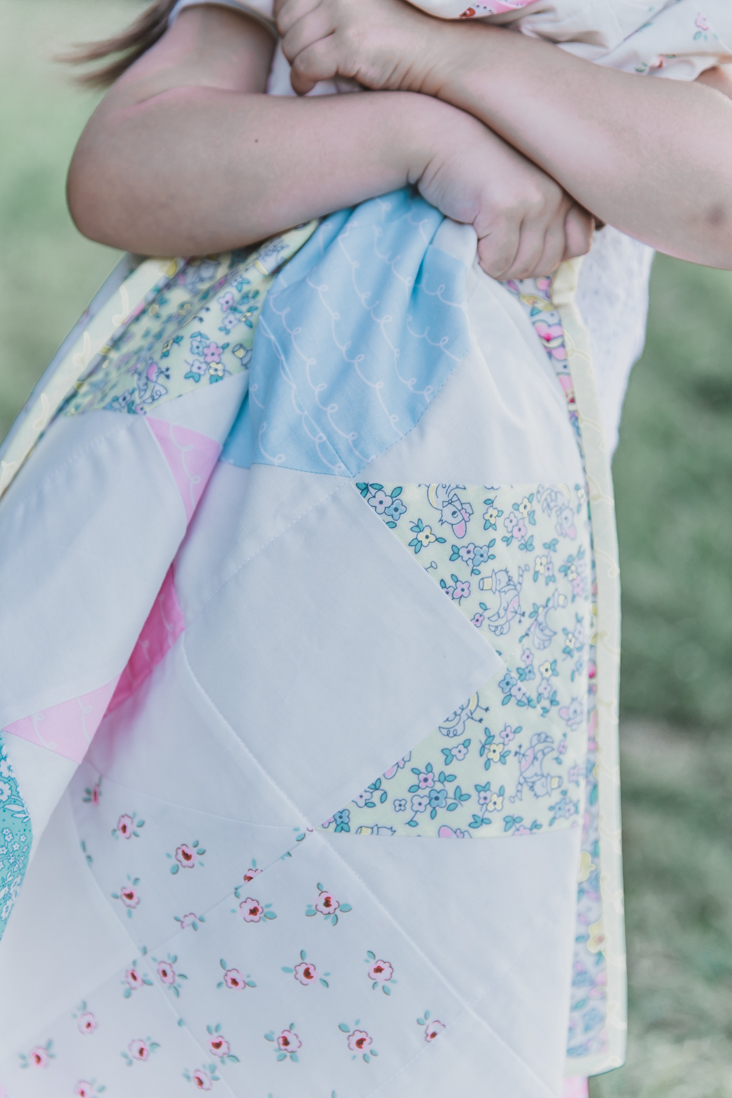
I love that I was able to pair the vintage inspired fabric with the modern quilt design.


I said in an earlier post that the fabrics remind me of something my mom would have sewn with for me when I was little, and it does even more so now that it’s all sewn up!

The whole process of making this quilt has truly been a breeze thanks to my Maker. It did all the cutting work for me, and prepped the pieces so perfectly, eliminating the possibility of human (ahem, my) error. Paired with Riley Blake’s quilt kits and patterns, it’s a match made in Heaven! Cricut + Riley Blake work together seamlessly to let us make adorable things with less time and energy! I loved being able to work on other things, press fabrics, etc while the Maker was doin’ it’s thing.


Because the Cricut Maker’s rotary blade cuts the pieces so accurately, your finished quilt will end up being more precise than if cut by hand. Stitching the pieces together is a pleasure when they fit together perfectly in the first place.

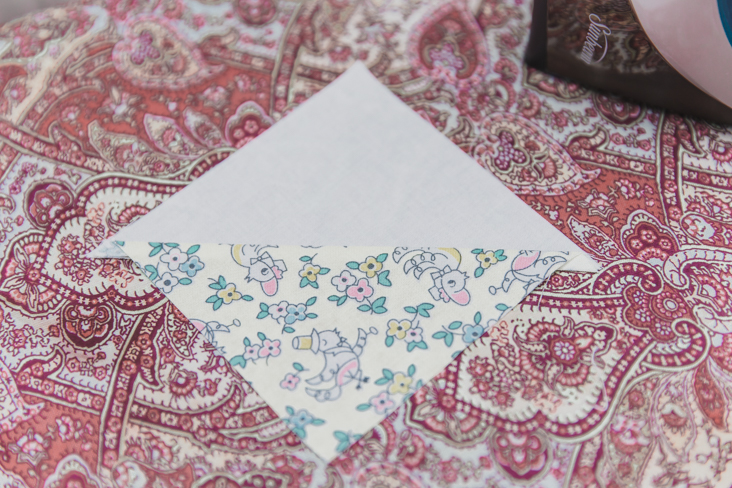
Before starting to stitch, it’s helpful to read through the pattern and then match up each block, or even just the first pieces that will be sewn together. I matched up all the HST (half square triangles) solid and printed pieces to make sure I had the correct amount and to have them all ready to be chain pieced, which I’ll explain next!

First, when joining two pieces, be sure you’re using the correct seam allowance as mentioned in the quilt pattern! 1/4″ is standard for quilt patterns, and a little too large or small will make a big difference in the finished quilt, and especially when joining blocks or rows. Check your machine guides to make sure you’re using the right line as a guide – don’t ask me why I mentioned that ;).
My very favorite tip for time saving while piecing a quilt is to chain piece! Chain piecing is when multiple pieces are sewn in succession, without cutting threads or back stitching. When reaching the end of one stitch line, get the next one ready, and just continue sewing! Your feed dogs will grab the next piece and there will automatically be a bit of space between the two pieces. The reason it works without back stitching is because these pieces will be sewn again in the crosswise direction when pieced. Once all the pieces are joined, use thread snips or scissors to cut them apart. I did this with both of the steps to make my blocks – first sewing the HSTs together…


Then chain stitching the solid rectangles to each HST (after pressing which I’ll talk more about below!).


Perhaps not my very favorite, but definitely the most important tip I’d like to share is the importance of pressing! To get the most neat, flat pressed seams, always press the seam open first, and then to the side as directed in the pattern (or leave open if instructed). The Riley Blake Arrows Baby Quilt pattern that I used was very clear in the direction of pressing which was great – I loved not having to think it through myself.


After pressing the seam, I always flip the piece over and press from the right side as well. It can make a big difference and ensures the quilt will look neat and tidy from both sides.

When sewing HSTs, the corners need to be trimmed after the pieces are joined. To do this, I used my handy Cricut mat, ruler, and rotary cutter and trimmed them all up in no time.

Once each block is complete, I like to lay out the entire quilt to get a view of how it will look when finished. First, I followed the instructions for layout in the pattern, and then adjusted as I preferred until I got the look I wanted. I also take a photo of it with my cell phone at this stage, because even if you think you’ll remember the correct order, you might not!

After I had the blocks sewn together, I added the borders on each side, trimming the excess with my mat and rotary cutter. The mat and rotary cutter also helped to make sure the quilt top was perfectly square before being quilted to the batting and back.


Once the quilt top is completed, there’s of course still more sewing to do :). I made a quilt sandwich with the top, batting, and back, securing together with safety pins.


To quilt them together, I used a walking foot (learn how to use one in this video!), which is SO helpful in keeping all the layers where they should be and fed through the machine nicely. I quilted in the ditch of each block and around the border to keep it simple.

Rolling the quilt in from each side helps immensely when trying to get a quilt through your machine. It also gives you something to hold onto while stitching which I find helps to ease the strain on my hands.

After binding the quilt by hand, it was time to photograph it, and little Hattie couldn’t have been more thrilled to finally get to snuggle up in it!

If you want more Maker quilting inspiration, check out what a few of my sewing friends have been up to:
Thanks for following along with this quilting fun! I hope you learned some new tips for piecing a quilt, and would love to see how it goes if you make one using your own Cricut Maker and Riley Blake fabrics or patterns!


2 Comments