DIY Christmas Stocking Pattern – Free!

Today I’m teaching you how to make stockings for Christmas, and sharing a DIY Christmas stocking pattern (free!) and tutorial with you that you can use to make your own and be sooo on the ball like I am this year (not!). I’m also sharing a Christmas stocking video tutorial if that’s more your style.
If you’re like me, and a week before Christmas you realize that you’ve once again slacked on getting those new stockings made, today’s post is for you! A peek waaay back in this blog reminded me that our previous stockings were made in 2009, when we only had 2 kids! So my little girls have been borrowing Joel and I’s stockings their entire lives (complete with our initials) – until now! Cause better late than never?

There are a number of free stocking patterns online already, but I have a thing with getting the perfect shape and size, so wanted to start fresh with my own pattern (my stocking ornament pattern was just a tad too small ;)).

These are not too big and not too small (perfect for some cute DIY stocking stuffers!), and are fully lined, but you can also ditch the lining if you’d prefer!

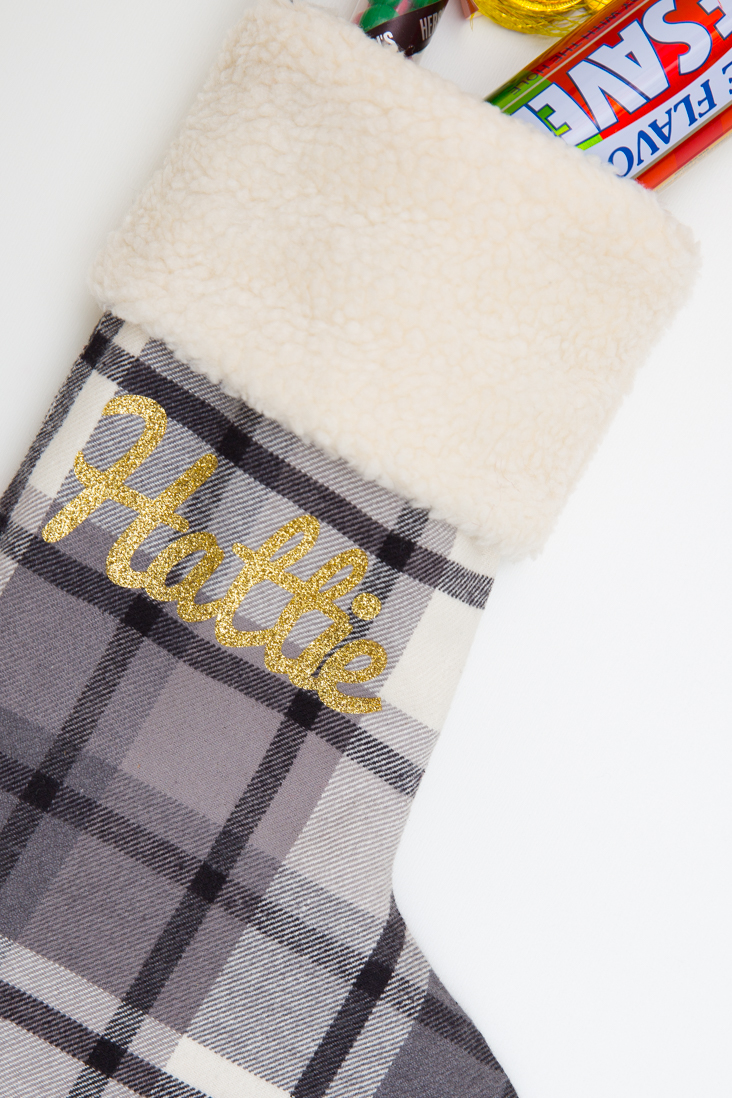
I used my Cricut Maker to personalize each of our stockings with glitter iron-on, and it gave them just the sparkle that was needed!
Looking for another fun DIY Christmas Cricut project? Make paper gingerbread houses with your Cricut machine and our free SVG cut files!

For these DIY stockings, I used a plaid flannel for the outside and added a faux sheepskin fabric for the lining and cuff. I found both fabrics at Jo-Ann Fabric and Craft Stores.

I made six stockings assembly style, and had them finished in a morning – they are definitely a quick and satisfying project that I had no excuse for putting off for so long.

Read on to get started on our free stocking pattern!

How to Make a Christmas Stocking – with a Free Stocking Pattern!
Update: Learn how to make a Christmas stocking with our new video tutorial! Check it out below or on our YouTube Channel.
Finished size: approximately 10.75″x15.25″
Supplies:
woven fabric – 3/4yd 45″ wide fabric (enough for 2 stockings if fabric is non-directional) or 5/8yd 60″ wide fabric (enough for 2 stockings if fabric is non-directional)
lining/cuff fabric – 7/8yd 45″ wide fabric (enough for 2 stockings if fabric is non-directional) or 2/3yd 60″ wide fabric (enough for 2 stockings if fabric is non-directional)
size 12 and size 16 needle (size 16 for stitching through bulk)
Cricut Maker, glitter iron-on, and EasyPress 2 (optional for personalization)
Click HERE to order and download free stocking pattern. Complete checkout process (no payment info will be asked for) and download link will be automatically emailed to you. If you don’t see it in your inbox, be sure to check your junk folder!
*All seam allowances are 1/2″.*
Print pattern download at 100% (no scaling) and tape pages together, matching borders and diamonds. Cut pieces out as directed on pattern pieces.
If personalizing your stockings, create your project in Cricut Design Space with your desired names/fonts/sizes. Be sure to click “mirror” before cutting!
Once iron-on is cut, use tweezers or a weeder to weed the negative iron-on. If making multiple stockings like I did, trim between names.

Use cuff piece to help determine placement for name. Use EasyPress 2 to secure glitter iron-on to stocking front (be sure to heat the fabric before adding the iron-on and also press it from the back after applying the iron-on). The smallest EasyPress 2 size is only 6×7″ and was so handy for this project! It makes fusing the glitter iron-on fool proof! I used a temperature of 330 degrees for 30 seconds as recommended and it worked perfectly.


Let the plastic cover cool and then peel away slowly, checking that the iron-on adhered well.


Ready to learn how to sew a Christmas stocking? Right sides together, stitch the front and back main fabric pieces together and front and back lining pieces together, leaving top open. My lining (faux sheepskin) was obviously really bulky so I serged those pieces to help reduce bulk in the seam allowances. If your main fabric is stable enough to omit the lining and you choose to do so, remember to finish the seam allowances in the step below as the raw edges will be visible on the inside of the stocking.

Trim seam allowances on main fabric and lining (if applicable) to 1/4″ and clip/notch around curves. Turn main fabric right side out and press flat around stitched edges. It didn’t take long to do all six assembly line style!


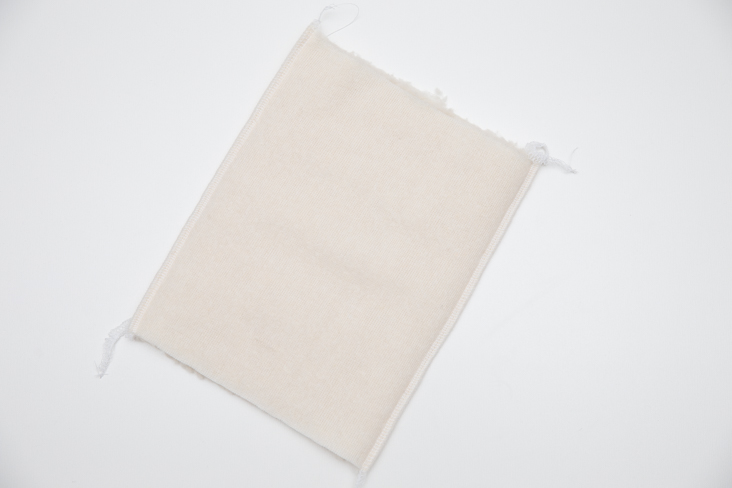
To make hang loop, press piece in half, wrong sides together, matching long raw edges. Open fold and press each long raw edge to center fold line. Fold back along first pressed line and topstitch along long edge to secure folds in place.


To prepare cuff, unfold pieces place right sides together. Stitch along long raw edges.
Fold in half, matching raw edges and wrong sides. Fold hang loop in half and pin raw edges to one seam allowance. Baste or serge raw edges together, catching hang loop in stitches. Tip: If you are using bulky fabrics like I did, you may want to move the hang loop to one side of the cuff seam allowance to help reduce bulk at that spot and make it easier to stitch through when attaching the cuff to the stocking.
With main fabric right side out and lining wrong side out, place lining inside stocking, matching top open raw edges. Baste or serge raw edges together (if serging, don’t remove any seam allowance).


With hang loop adjacent to lining (sandwiched between cuff and stocking lining), place cuff inside stocking, matching top edges (you can see that on this one I didn’t serge these cuff edges, unlike the above photo, and how much bulkier the raw edges are!). Stitch around entire top. If using bulky fabrics, you’ll need to use a needle for heavy fabrics (I used a size 16) as there will be a lot of thick layers to stitch through! Go slowly through those areas and use the hand wheel as necessary. Your DIY Christmas stocking will be done before you know it!


Flip cuff to the outside of the stocking, folding where it meets top of stocking.

Voila! You’ve just learned how to make a stocking for Christmas, great job!

If you enjoyed our free Christmas stocking pattern and need some fun ideas to help fill your stockings, be sure to check out our DIY stocking stuffers tutorials!


how much fabric would be needed just to make the cuff out of the sherpa material if i wanted to make a more simple lining?
Hi Caitlin, you should be able to get away with 1/3yd of sherpa for just the cuffs.
Hi I can’t seem to find the pattern to make your beautiful simple Christmas stocking. Can you send me a link for the pattern, thank you.
Hi Cath, you can find the link to the pattern order page under the “supplies” section of this blog post :).
Thank you so much for this pattern! I can’t wait to make a few for younger members of our family including our grandchild.