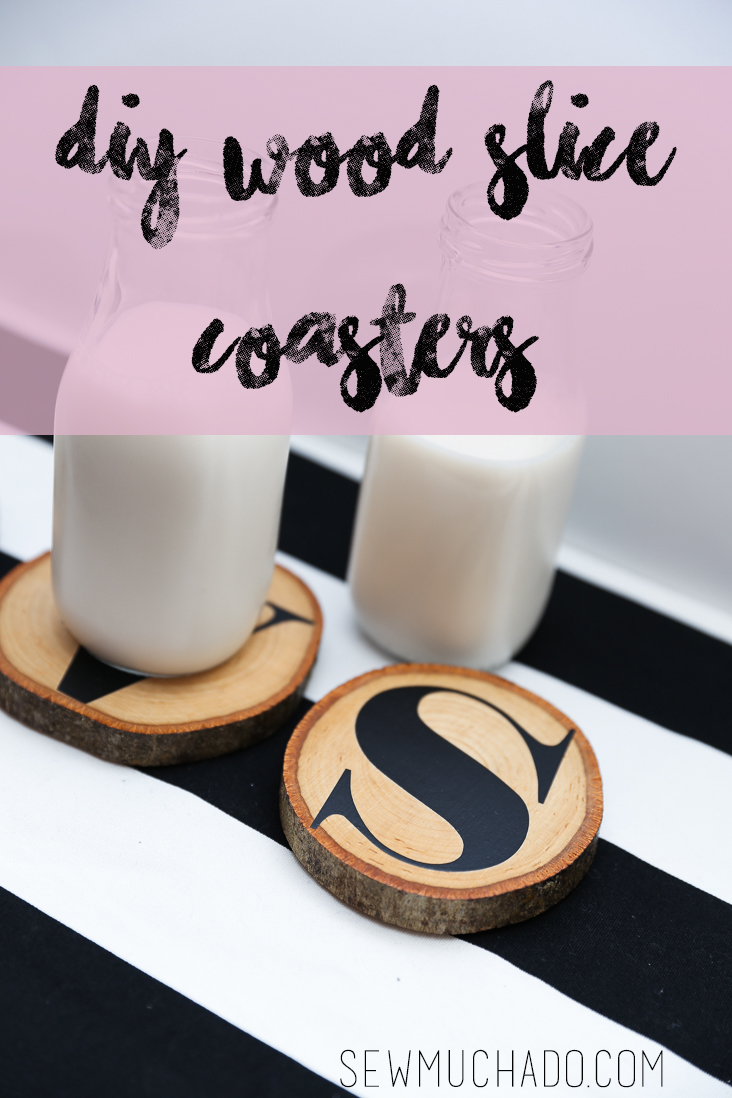
DIY Monogram Wood Slice Coasters
I love giving personalized gifts, whether it’s for Christmas, a birthday, or just because! A simple but thoughtful personalized gift can mean a lot to the recipient, and I know that the extra special touch is always appreciated! Today’s project, DIY Wood Slice Coasters with your Cricut Maker or Explore Air 2, fits the bill perfectly if you’re looking for a fun, simple DIY gift idea that can be customized for the recipient.

With a cute monogram, these wood slice coasters are a quick and rewarding project, that pretty much anyone would love to receive! It’s easy to make a pile at once like I did, and you’ll be done in no time!

I made these with my Cricut Explore Air 2, but this is also a great project for your Cricut Maker!

Ready to get started?!

DIY Wood Slice Coaster Tutorial
Supplies: (affiliate links below)
wood slice coaster
Cricut Explore Air 2 or Cricut Maker
Cricut vinyl – I like to use permanent vinyl for this
Cricut transfer tape
measuring tape
clear spray sealer – I used Rustoleum Chalked Matte
sandpaper
craft felt – enough to cover bottom of coaster
glue gun and glue sticks
- If necessary, lightly sand wood slice to ensure smooth surface. Measure diameter of wood slice and determine desired size of monogram.
- Use Cricut Explore Air 2 or Maker and Cricut Design Space to create project with using desired monogram letter.
- Follow on screen prompts to cut monogram from vinyl.

- Weed negative vinyl and place transfer tape over vinyl. Use scraper to ensure proper adhesion and remove paper from vinyl.
- Center monogram on coaster and use scraper to adhere vinyl to wood. Remove transfer tape.
- Spray top and sides of coaster with clear sealer. Let dry and add additional coats of sealer as desired (I did 3 coats).
- Trace coaster shape on felt and cut felt, approximately 1/4-1/2” inside of traced line.
- Use glue gun and hot glue to adhere felt to bottom of coaster.


Great job!
For another fun DIY wood coaster tutorial to make with your Cricut Maker, check out our monogram basswood coasters! Pair your coasters with some DIY “If You Can Read This” Socks and you have a perfect personalized gift!


