Giant Floor Pillow Tutorial

Hi sewing friends! As promised, today I’m back with the second part of our DIY Reading Station, a Giant Floor Pillow Tutorial! We first shared how to make a fun Wood Crate Bookshelf, and now you’ll have the perfect and cozy pillow to go along with it.

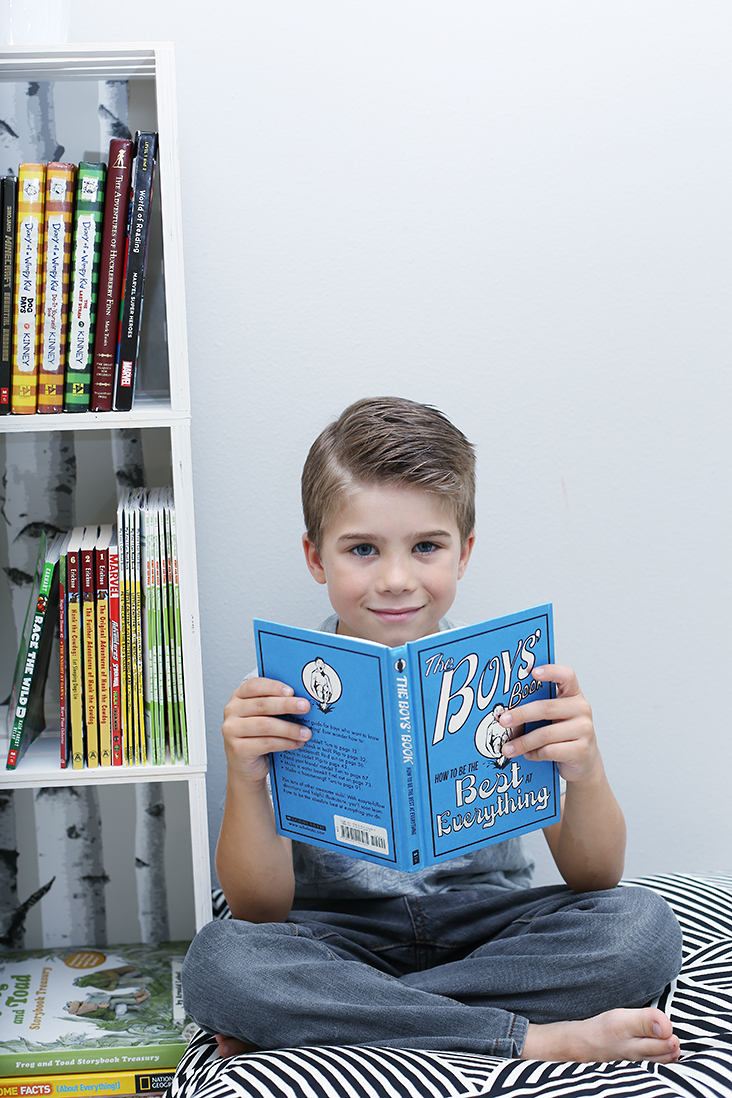
My kids love having a place of their own to snuggle up and read, and they certainly love this pillow!
And if you’re looking for more fun and unique pillow projects to sew, check out this post!

The floor pillow has a removable cover, because removable + kids is always a good thing, right?! I’ve been drooling over the Nate Berkus home décor fabric line at Jo-Ann Fabric and Crafts Stores, and can’t get enough of this geometric print!
Let’s get to work! This fun pillow also works great for hours of LEGO play with our DIY LEGO table!

Floor Pillow Supplies:
27×27” pillow form
1yd 54” wide home décor fabric (I used a fabulous Nate Berkus print)
22” all purpose zipper
rotary cutter and mat
seam ripper
basic sewing supplies – thread, scissors, pins, etc
*Supplies and compensation for this project provided by Jo-Ann Fabric and Craft Stores. All content and photography are my own, and opinions are genuine.*

*Seam allowance is ½” unless otherwise noted.*
Use rotary cutter and mat to cut two pieces of fabric 28”x28” in size. Center zipper on one side (will be bottom of pillow), and mark top and bottom stops.

Starting and stopping ½” from each end, stitch with a normal stitch length until first mark is reached., backstitching at mark. Continue stitching with a basting stitch until opposite mark is reached. Switch stitch length back to regular, backstitch, and continue stitching until ½” from end of side.

Press seam open and finish seam allowances with serger (do not trim any seam allowance as while stitching) or zigzag stitch. Right side down, center zipper over basted stitch line, placing top and bottom stops at marks. Pin in place.

 From right side of fabric, stitch ¼” from each side of basted stitch line, stitching across just outside of top and bottom stops. When stitching near zipper pull, place needle down, lift presser foot and slide pull out of way, then continue stitching. Use seam ripper to remove basting stitches and remove any loose threads.
Right sides together, place pillow front and back together, matching raw edges. Stitch together along three open sides (make sure the zipper is partially open first!). Trim corners and finish seam allowances.

 Turn cover right side out, slide pillow inside, zip it up, and that’s it!

There you have it, a cozy giant floor pillow that any kid would be thrilled to snuggle up to!


Awesome reading nook!! I’ve got a Craft Gossip post scheduled for tomorrow afternoon that features your giant floor cushion tutorial: http://sewing.craftgossip.com/tutorial-giant-floor-cushion/2016/10/17/ –Anne